Windows 8 is the latest operating system of Microsoft. Now it has been completely redesigned and has moved away from traditional to the new interface. The most familiar start menu is gone and the icons and windows are replaced with live tiles and a magazine-style interface.
Unlike the previous versions, Windows 8 and its variation work across multiple architectures. Now it has been completely optimized for touch screen and work on Intel-based PC or ARM.
The best way to install windows 8 is to perform a clean install. Before you start the installation process you need to check the windows 8 system requirements first.
Windows 8 Install: There is a need to have the following options like:
- A fresh installing
- Dual-booting with Windows 7 or some other Operating System
- An upgrade from Windows 7 to Windows 8 (Not recommended)
- Trying out Windows 8 on a virtual machine.
Before you start installing Windows 8 on your PC make sure your device meets all the requirements laid by Microsoft. Without these requirements, it’s difficult to install Windows 8. So make sure that you follow all the requirements well.
Its System Requirements:
The minimum requirements are been defined below:
Windows 8 x86 (32-bit version)
- 1GHz Processor
- 1GB RAM
- 16GB storage space
- DirectX 9 graphics device with WDDM 1.0 or higher driver
Windows 8 x86_64 (64-bit version)
- 1GHz Processor
- 2GB RAM
- 20GB storage space
- DirectX 9 graphics device with WDDM 1.0 or higher driver
To install windows 8 look at the following steps. Follow these steps carefully and install windows 8 on your PC.
Step 1: Get Bootable windows 8 Disc:
To begin with windows 8 installations you need to put a bootable windows 8 disc and then restart the computer. Once you restarted it press F12 Key and start the boot process. Then you will get the option of “Press any key to boot from either CD or DVD”. After pressing any key you will notice a flash screen with the windows 8 icon. This means you have successfully started the installation process of windows 8.
Step 2: Select the Language Option:

The next step evolves selecting the language option. It means in which option you want to install your operating system. There is a need to select the preferred language from the list, time, and accuracy format. Once selected all the preferences, click on the Next button.
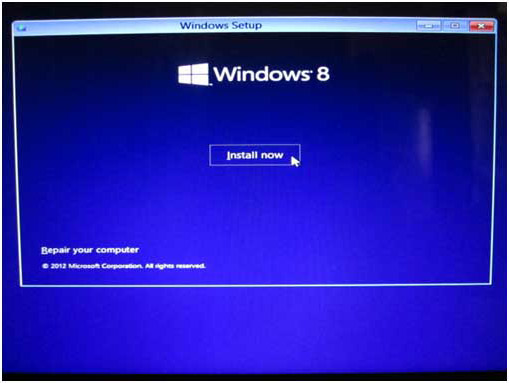
Step 3: Click the install Button:
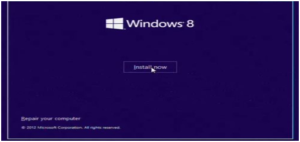
After clicking the next button in step 2 your screen will show the option for installing. Click to install now button and your device setup will begin to start automatically.
Step 4 a): Accept the License Agreement:
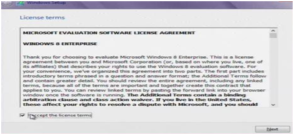
To move ahead in completing the windows 8 installation process you need to accept all the license agreements. Click on the license terms button and accept the license conditions.
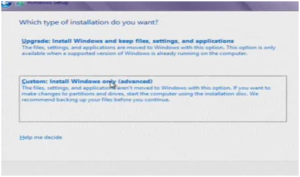
- b) Once you have accepted the terms of license agreement then you will get the option of “Which type of installation do you want”? In this scenario you need to choose the “Custom: Install windows only”. This will allow for a clean install.
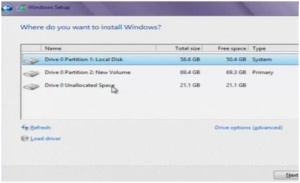
c) Once you have selected the type of installation, then the setup will automatically start the disk manager as shown in the figure.
Step 5: Select the Drive
Now move a little bit ahead with the windows 7 installation process. There is a need to select the appropriate and correct drive in which the programs files of installation windows 8 will get started.
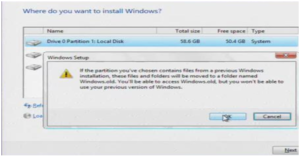
Step 6: Choose Drive for installation:
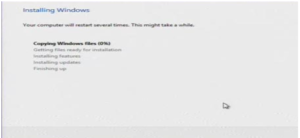
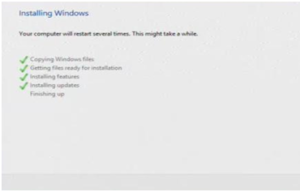
Once you will select a proper driver for installation windows then select the next button. In the windows set up function, it will automatically start installing Windows on your computer. Although this process can take a few amounts of time. But once the installation gets completed you need to reboot your computer. So click on the restart button.
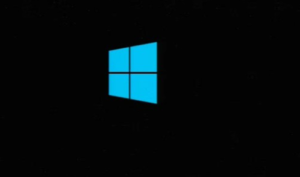
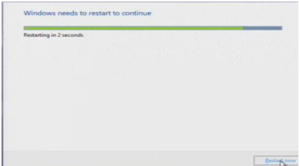
Step 7: Getting Devices Ready:

When the windows installation will get over, your computer gets restarts and you will see the window logo. Also, all the devices get ready after the installation.
Step 8: Personalize Name for Your PC:
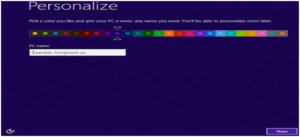
Your computer has finally restarted and you will get the option to personalize your windows setting. Now, you need to select a color for your PC and name for it. Type a name for your computer and then click on the Next button.
Step 9: Click the Setting Button:
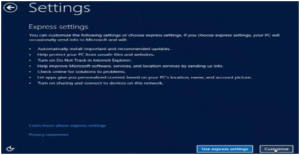
It is the time to go for the next option. Click on to the settings where you can customize it through express settings. Click to the customize button and move further. Once the setting parts get completed, move on to the next button.
Step 10: Sign in Your PC:
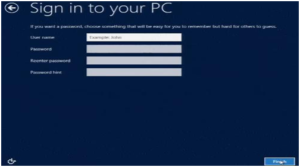
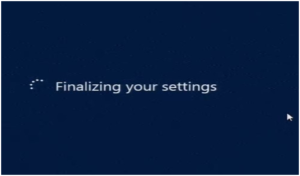

In this step, you will get the option of choosing a username and password. And then click on the finish button. Once you click the finish button the setting will get automatically finalized. Also, the computer will restart on its own. However, it can take a few minutes when your device will be ready to use.
Step 11: Installation Process Completed
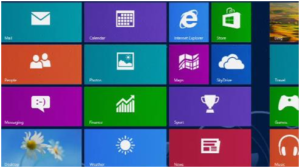
Now your computer is fully installed with the latest operating system and i.e windows 8. It comes with new looks and attractive features.
Get your PC started with windows 8.
For Windows 10 Install and Upgradation, Read the blog